How to Look Good on Camera for Podcasts
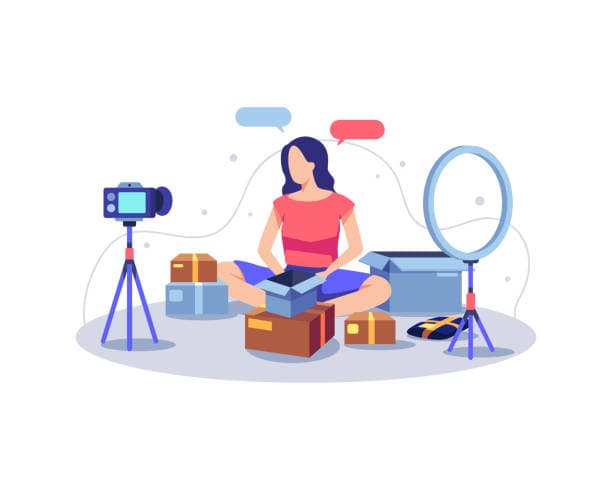
Looking good on camera for a podcast comes down to three things you can control: good lighting on your face, a clean frame at the right height, and posture that does not slump after the first ten minutes. None of it needs a stylist or an expensive face. If your light is soft, your eyes are at the top third of the screen, and you sit up straight, you will already look better than most of what scrolls past on YouTube.
The rest is detail, and detail is what this piece covers. Below you will find the exact settings, distances and habits that read as professional on camera, plus the things people get wrong without realising.
Why how you look on camera matters more than you think
Video podcasts get judged in the first two seconds. Someone sees a thumbnail or an autoplay clip, and if the lighting is flat or the framing is off, they keep scrolling before you say a word. That is not vanity, it is retention. A face that is well lit and well framed holds attention long enough for your content to do its job.
This matters even more now that most growth comes from short clips on Reels, TikTok and YouTube Shorts. A messy frame looks fine on a wide laptop screen and terrible cropped to vertical. If you want the clips to travel, you have to look right in both shapes. We go deeper on the clip side in turning one episode into ten clips, and the case for video over audio in why 2026 is the year of the video podcast.
Lighting: the single biggest difference
Lighting does more for how you look than any camera you can buy. A cheap camera in good light beats an expensive one in bad light every time. The goal is soft, even light on your face with no harsh shadows under your eyes or nose.
The basics that work:
- Put your main (key) light slightly to one side and above eye level, angled down at roughly 45 degrees. This gives gentle shadow and shape, not a flat passport-photo look.
- Soften it. A softbox, a diffusion panel, or even a light bounced off a white wall turns a hard beam into flattering light. Bare bulbs are unforgiving.
- Add a second, weaker light on the other side to lift the shadows. It should be dimmer than the key, not equal, or your face goes flat.
- Never sit with a bright window directly behind you. The camera exposes for the bright area and leaves you a silhouette. Face the window instead, or close the curtains and use your own lights.
A small detail that reads as expensive: a soft backlight or rim light behind you separates your hair and shoulders from the wall, so you stop blending into the background. We cover full setups in a podcast lighting setup guide. If you record at Timelapse Studio the cinematic lighting is already rigged and dialled in, which is one less thing to think about.
Framing, camera height and distance
Get the camera at eye level. Most people leave a laptop or phone low on a desk, which shoots up their nose and chin. Raise the camera on a stack of books or a tripod until the lens sits at or just above your eyes. Looking slightly down at a camera flatters almost everyone.
For framing, use the rule of thirds. Your eyes should sit on the upper third line of the frame, not dead centre, with a little space above your head but not a lot. A common mistake is leaving a huge gap of empty wall above the head, which makes you look small and far away.
| Shot type | What is in frame | Best for |
|---|---|---|
| Medium close-up | Chest up to a little above the head | Solo host, interviews, the default |
| Medium shot | Waist up | Showing hand gestures, two people |
| Wide / establishing | Whole set and both guests | Intros, wide cutaways |
Sit about an arm's length to a metre from the camera for a solo medium close-up. Too close and your face distorts, too far and you lose connection with the viewer. A professional video setup lets you cut between a tight shot and a wider one so the edit never feels static, which is why Timelapse Studio runs a professional video setup. More on rig choices in which video setup for a video podcast.
What to wear (and what to avoid)
Wardrobe is easy once you know the traps. Solid, mid-tone colours photograph best. A plain shirt in a colour that contrasts with your background makes you pop without effort.
What to avoid:
- Tight stripes, small checks and busy patterns. They create a shimmering moire effect on camera that looks like the fabric is buzzing.
- Pure bright white. It blows out under studio lights and pulls focus from your face. An off-white or light grey is safer.
- Logos and slogans, unless they are intentional branding. They date the episode and distract.
- Anything that matches your backdrop exactly, or you blend into the wall.
Layers add depth, a jacket or an open shirt over a tee reads more polished than a single flat layer. If you use a green screen for virtual sets, avoid green clothing or it disappears along with the background. More on that in green screen podcasting and virtual sets.
Posture, body language and energy
The way you carry yourself shows on camera more than you expect. Sit forward, not back into the chair. Leaning slightly toward the camera reads as engaged, while leaning back reads as bored or guarded.
A few habits that hold up across a long recording:
- Plant both feet and keep your shoulders open. Crossed, hunched shoulders make you look closed off.
- Look at the camera lens when you address the audience, and at your guest when they speak. Darting eyes look nervous.
- Use your hands. Natural gestures bring energy, just keep them inside the frame so they do not flap in and out.
- Reset your posture between segments. Everyone slumps after twenty minutes, so use the natural breaks to sit up again.
- Match your energy to the format. A calm interview does not need big gestures, a comedy show does.
Being comfortable on camera is a skill that builds with reps, and it overlaps a lot with being a good host. We cover that side in how to be a great podcast host.
Grooming and small details that read on camera
Cameras pick up things the mirror forgives. A quick check before you hit record saves you in the edit.
- Skin shine is the big one. Studio lights make foreheads and noses glossy on camera. A light dab of translucent powder or even a tissue press kills the shine, for any gender.
- Tame stray hairs. They catch backlight and float around your head distractingly.
- Check your collar and shoulders for dandruff, lint or twisted seams.
- If you wear glasses, angle the lights so they do not bounce a bright square back at the lens. Tilting the arms slightly down at the ears often clears the reflection.
- Glance at the background. A stray cable, an open cupboard or a crooked frame on the wall is all the viewer will look at once they notice it.
Backdrop and set behind you
What is behind you is part of how you look. A flat, close wall looks cheap. Give yourself a metre or two of distance from the background so it falls slightly out of focus and adds depth.
Simple wins: a plant, a shelf with a few well-spaced objects, a soft accent light, or a clean branded backdrop. Avoid clutter and avoid a dead blank wall right behind your head. If you want full control over the look, a green screen lets you drop in any set, and a proper studio gives you backdrops that are already lit and dressed. There is a deeper breakdown in backdrops and set design for video podcasts.
Frequently asked questions
Do I need expensive lights to look good on camera? No. One softbox or a light bounced off a white wall, placed above eye level and to one side, covers most of it. Soft and well placed beats expensive and badly aimed.
What is the most common mistake people make? Sitting with a window or bright light behind them, which turns them into a silhouette. The second most common is a camera placed too low, shooting up the chin. Fix those two and you are most of the way there.
Should I wear makeup for a video podcast? A touch of translucent powder to stop shine helps everyone under studio lights, regardless of gender. Beyond that it is personal preference and depends on how polished you want the look.
How far should I sit from the camera? About an arm's length to a metre for a solo medium close-up. Close enough to feel connected, far enough that your face does not distort. Get the lens to eye level while you are at it.
What is the easiest way to look professional without learning all this? Record in a studio that already has the lighting, video setup and backdrops ready. You walk in, sit down and look right without owning or rigging any gear. See the studio setup and pricing.
If you want to look sharp on camera without buying or rigging a thing, book a session at Timelapse Studio and the lighting, video setup and set are ready when you arrive.
Record at our Lahore studio
Audio and video podcast sessions with the gear and crew handled. Check the pricing or grab a slot.