Podcast Lighting Setup: A Simple Guide
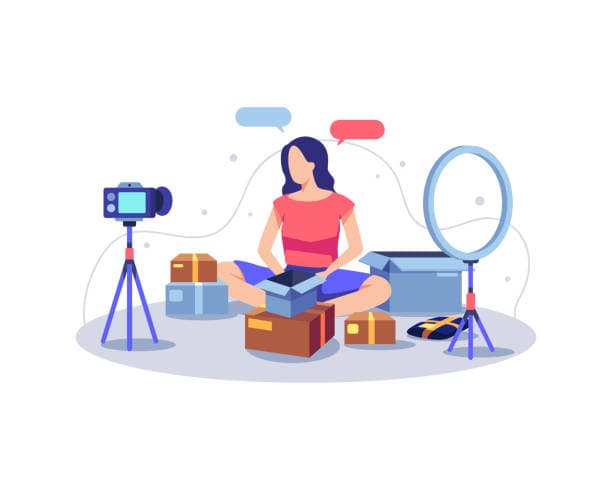
Good podcast lighting comes down to one main light on your face, placed slightly to the side and above eye level, plus enough fill so the shadows are not harsh. That single change does more for how your video looks than any camera upgrade. Everything else is refinement.
You do not need a film crew to get there. Below is a setup that works in a normal room, the order to add lights in, and the mistakes that make footage look amateur.
Start with one light
If you buy nothing else, buy one decent soft light. Place it in front of you, off to one side at roughly 45 degrees, and a little above your eyeline so it points slightly down. This is your key light, and it does most of the work.
Soft is the word that matters. A bare bulb or a small hard light throws sharp, ugly shadows. A softbox, a light with a diffusion panel or even a large window during the day spreads the light and flatters the face. A single soft key light already beats most home podcast video.
Add fill and separation
Once the key looks right, the other side of your face is in shadow. A fill light fixes that. It sits on the opposite side, points at your face and is dimmer than the key, just enough to lift the shadow without flattening everything. A cheap reflector, or even a white wall, can do this job.
The third light is a back or hair light. It sits behind you, points at the back of your head and shoulders, and creates a thin rim of light that separates you from the background. This is the classic three-point setup.
- Key light: main light, one side, above eyeline, soft
- Fill light: opposite side, dimmer, softens shadows
- Back light: behind you, separates you from the background
What to avoid
A few common errors make even good cameras look cheap.
| Mistake | Why it hurts | Fix |
|---|---|---|
| Overhead room light only | Shadows under eyes | Add a front key light |
| Window behind you | You go dark, window blows out | Face the window instead |
| Mixing warm and cool bulbs | Skin tones go odd | Match colour temperature |
| Light too hard | Harsh shadows | Diffuse or bounce it |
Match your light to your camera
Lighting and camera work together. A bright, even setup lets a cheaper camera look its best, while a dim room makes even a good camera grainy. If you are still choosing a camera, our guide to the best cameras for video podcasts pairs with this one.
Colour temperature is the other half. Keep all your lights at the same warmth (most LED panels let you set this) so your skin does not turn half-orange, half-blue. Then set your camera white balance to match.
When to skip the setup entirely
Building and tuning a three-point setup takes time, space and money, and you redo it every session if your room is shared. For a polished look without the hassle, a studio with cinematic lighting already dialled in is the shortcut.
Timelapse Studio in Johar Town, near Emporium Mall in Lahore, has the lighting, cameras and green screen ready, so you sit down and record. Video sessions start at Rs 9,000 per hour, and you can see the full list on the packages page. If you are also weighing the bigger picture, is a podcast studio worth it versus home lays out the trade-offs.
Frequently asked questions
What is the most important podcast light? The key light. One soft light in front of you, slightly to the side and above your eyeline, does most of the work. Add fill and back lights later.
Can I use natural light for a video podcast? Yes, if you face a window rather than sitting with it behind you. The catch is that daylight changes through the day, so your look shifts between recordings.
Why does my video look grainy even with a good camera? Usually not enough light. Cameras get noisy in dim rooms. Add a bright, soft key light and the grain clears up without touching the camera settings.
Want cinematic lighting without building a rig? Book your session at Timelapse Studio.
Record at our Lahore studio
Audio and video podcast sessions with the gear and crew handled. Check the pricing or grab a slot.